Saturday 11 November 2017

My Demo Debut


Hi Everyone

Well todays been fanstastic going to Amanda Jane Crafts workshop, getting to spend time with friends (old and new) and getting inky using different techniques to create some really beautiful cards.

My Bezzie (Amanda Branston) asked me if I'd like to do a demonstration at her workshop on the foiling technique which I featured in my last blog back in August.

I said I would, well if you're going to throw yourself in at the deep end why not do it amongst friends, although I did make our good friend Pauline Butcher promise no heckling. Lol.

I was a bit shaky at first (it's surprising how nerve wracking it can be when you're stood up front for the first time) but once I got going and got rid of the jitters I was OK. 

It's such an easy technique to do and the results are stunning which the ladies all agreed after looking at the samples I'd made.


I did a demonstration using Sweet Poppy Stencils Glossy Black Stencil Medium through the Poppy Circle which seemed fitting it being Remembrance Day. This was then put to one side to air dry.

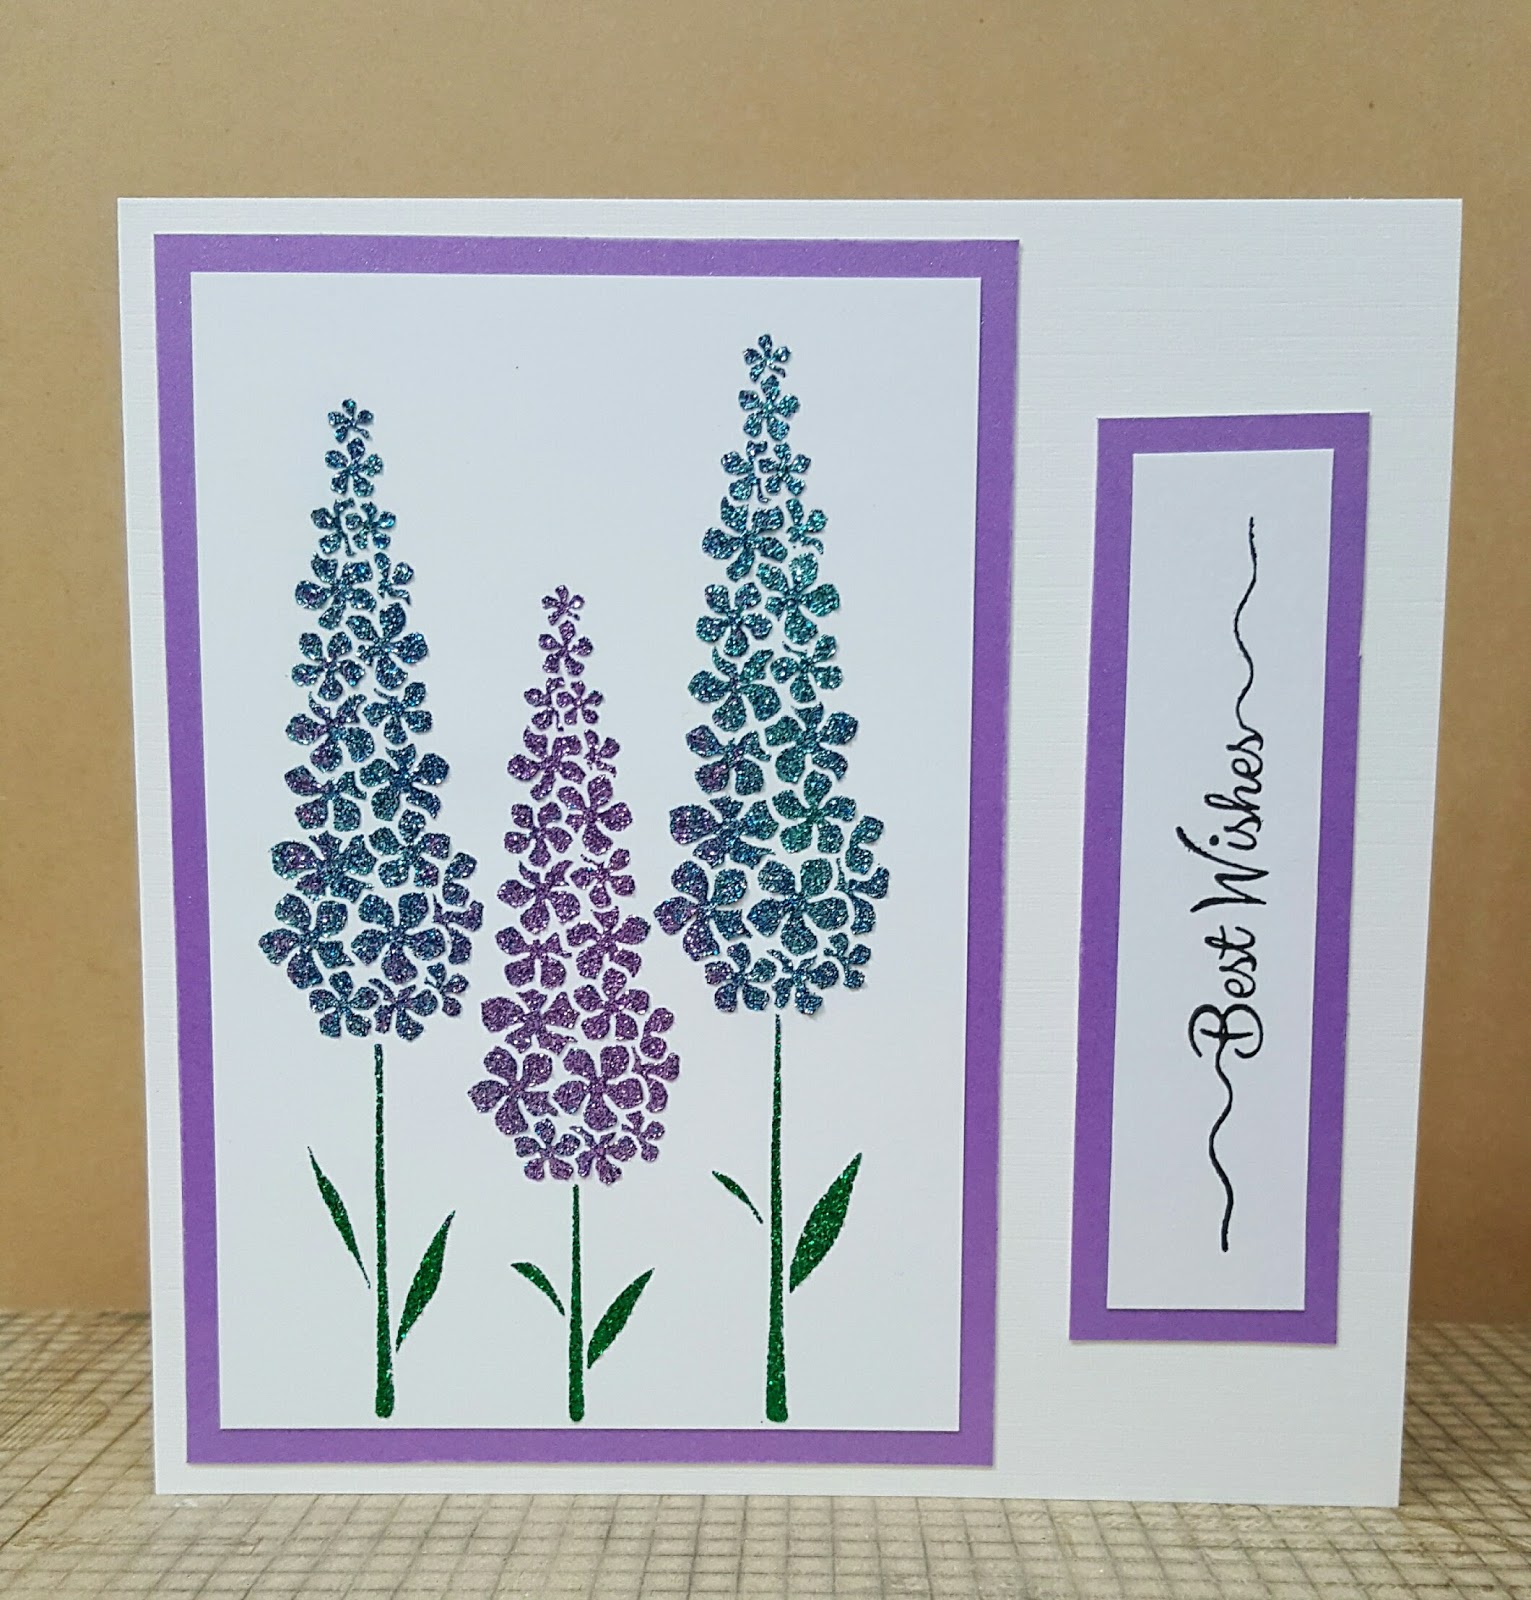
Next we moved on to the fun part, the foiling using some stencil medium backgrounds that I made last night. This is the part that never ceases to amaze me, the big reveal once it's been through the laminator.

These are the results from the demo that need to be mounted on to cards.


I made a couple of giveaways, the dragonfly card went to Jan and the Chinese Lanterns that I'd just made using Gold Broken Glass foil which went to Sue, this one was fabulous but I didn't manage to get a photo. 

Here's a photo taken during the demo of my captive audience. 


If you fancy having a go at this technique I hope you have fun. Check out my previous blog for a recap and details on different foils if you need to.

Thanks for dropping by and feel free to leave me a comment. Hope to see you soon.

Crafty hugs

Jules xxx

Wednesday 9 August 2017

Foiling Technique with Sweet Poppy Stencils

Hi Everyone

I was blown away by all the lovely comments that were made when I posted a card made using this technique on Facebook. A number of friends have asked how it's done and if I'd be doing a blog so here goes.


Start off by picking a Sweet Poppy Stencil, I've used the new design by Emma Cronin which is going to feature on Hochanda this Friday, it's called Mehndi Flower

 Using your magnetic sheet, tape your card and stencil down as usual.


Next, use your Sweet Poppy Stencil Glossy Black Stencil Paste


Now, this is the point where you need to be patient and wait for it to dry, generally I leave it overnight.

I got a small amount of paste below the flower but wasn't too concerned as it was going to be trimmed down.

Now for the fun part, get your foil ready and your laminator warmed up. My laminator came from Tesco's, cost a tenner and gets quite hot which I think is key to the process. Place the foil shiny side up over the black paste.


Place it in a piece of folded A4 paper.


Feed it through the laminator making sure that it's up to temperature first.


Once it's cool it looks like this.

Now gently peel back the foil......


Here's where the 'MAGIC' starts.


Look at that bling.
It's fabulours how the colours dance in the light.

To finish off, mount it on a card of your choice.

Here's card made using the sames steps as above but using the Sweet Poppy Stencil Feather


I really hope that this step by step guide to using this technique is helpful and hope that you'll try it out. Go on, you know you want to, it is easy and gives such stunning results.

Thanks for dropping by and feel free to leave me a comment. Hope to see you soon.

Crafty hugs

Jules xxx

Since writing and posting this blog I've had a lot of questions about what type of foil to use, I bought a Foil It machine made by Patsy May a few years ago and I used the foil that goes with that. It's a 'toner foil' that you can buy either direct from patsymay.co.uk or you can buy it from their store on eBay. The item number for the plain coloured rolls on eBay is  251665134093 and the number for the holographic roles is 261614576125

My good friend Eileen Godwin has also created stunning results using this technique together with Tonertex Foils.

I noticed on the Patsy May site that it says foils work at different temperature and pressure settings so some foils such as those for your TODO or Craft Dragon machines may not work, you would have to give it a go.

Jules

Sweet Poppy Stencils on Hochanda

Hi Everyone

I hope that you are all keeping well and managing to find time to do some crafting. This is a quick reminder that the lovely Lucy Ellis will be on Hochanda this Friday 11th August showcasing new stencil designs and also a fabulous range of new paints and other fun products.


This card has been made using two of the lovely new designs and products which can be found by following the links.

Inspiration Words - Hope

Large Poppy Head

Cement Balls Small

Cement Ball Extra Fine

Shimmer & Sheen Lustre Paints
Bamboo and Copper Mines

I hope you have chance to settle down with a cuppa to watch the show, see the new products and pick up lots of tips and techniques from Lucy's demonstrations. If you can't make it don't forget to set your recorder.

Thanks for visiting my blog, please feel free to leave me a comment it's always nice to get feedback.

Crafty hugs

Jules xxx

Tuesday 2 May 2017

Lavinia Stamps Creative Challenge - Make Your Own Vision

"Fairies on Film"


A couple of years ago I bought a collage frame from Ikea that takes seven 6" x 4" pictures and looks like a film negative strip. It's been hanging empty all that while and I have finally decided what to do with it.

I started by making some backgrounds on the reverse side of Centura Pearl card using Distress Oxide Inks, they are fun to play with.                                                                                        
                                                     

My next step was to start stamping the main images which were done using Archival Inks. Once they were all stamped I added foliage and background stamping in a mixture of Archival Inks and Distress Oxides. Finally, I added some highlights and bling using gold and white pens plus Wink of Stella and a Gelli pen
             
                                                                       
Here are close up photos of each picture, I love the finish but the highlights don't show up very well on here.


I hope that you like them, I did enjoy making this project and they look lovely displayed together in the frame. 

Thanks for dropping by, any comments are always welcome.

Crafty hugs

Jules xxx 

Wednesday 26 April 2017

Lavinia Stamps Creative Challenge

Well, late as ever but I've made an entry for this month's Lavinia Stamps Creative Challenge with the theme Buds & Blooms.

The background has been made using Distress Oxide Inks with the stamping done in a mixture of Distress Oxides and Black Archival ink. The flowers have been coloured using Zig Clean Color Real Brush pens. Finally the fairies wings, orb and some of the flowers have been highlighted with a Sakura Gelly Roll pen 'clear star'.


Thanks for dropping by.

Crafty hugs Jules xxx

Thursday 20 April 2017

Sweet Poppy Stencils Debut on Hochanda 21st April 1pm & 6pm

Hi Everyone

Well it's been way too long since I visited blog land but I wanted to share some samples with you that I've made for Sweet Poppy Stencils and their debut on Hochanda.

Sweet Poppy Stencils will be showcasing some brand new stencils along with their products and Lucy will be sharing lots of tips and techniques with you.

I hope you have chance to join Lucy tomorrow 21st at 1.00pm and 6.00pm on Hochanda, Sky 663, Freeview 85 and Freesat 817.

If you can't make the shows then you can always pop over to Sweet Poppy Stencils website at www.sweet-poppy.com

                                                                     Koi Pond


Oriental Bird 


                                                                      Magnolia


Delphiniums 


Tree of Seasons 


Chinese Lanterns 


Thank you for popping by, crafty hugs. Jules xxx